Painting cabinets is a quick and affordable way to refresh your kitchen. All you have to do is grab a roller and get started, right?
Not so fast.
This is a job where preparation is the key to success. In fact, prepping should take longer than painting itself. Wondering how to prep cabinets for painting like a professional? We’ve got you covered with these instructions.
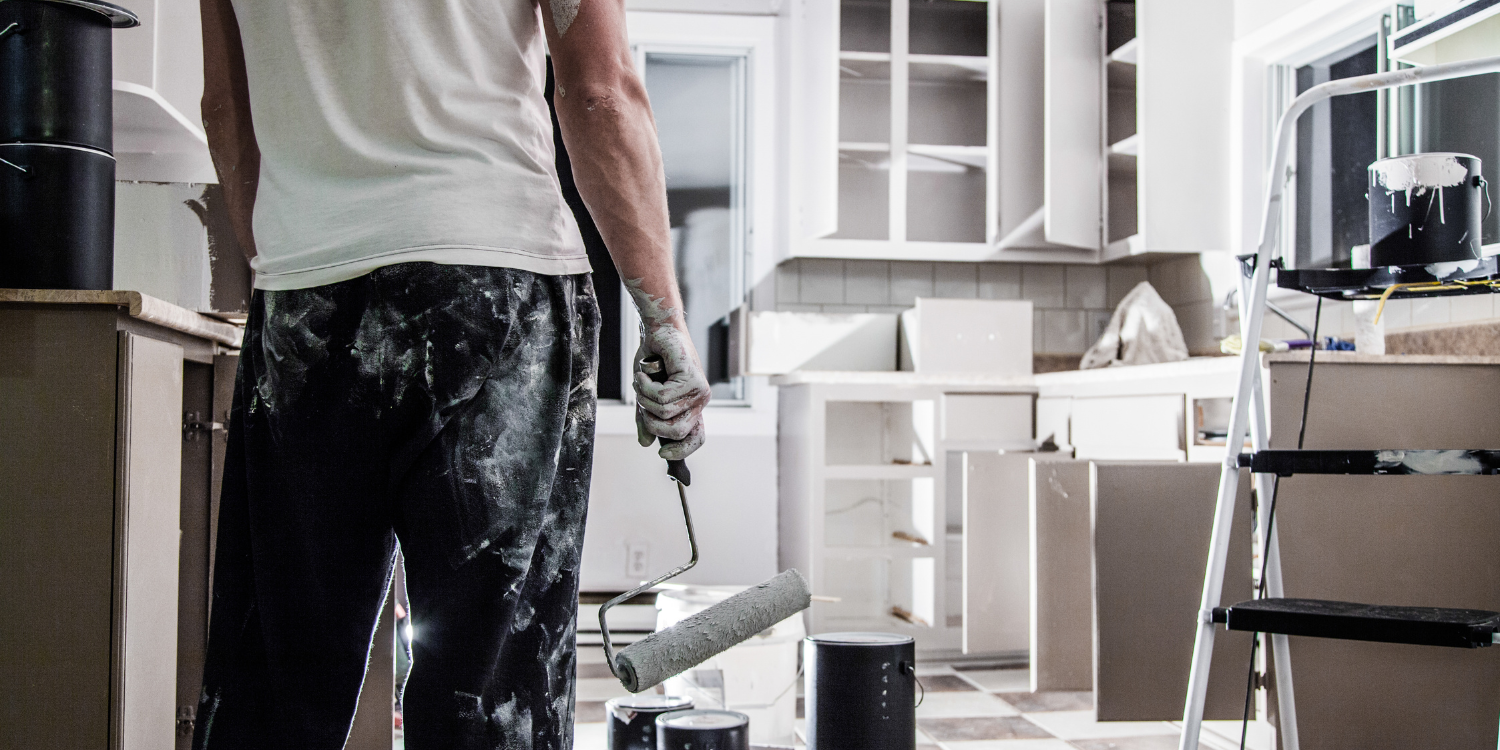
Step 1. Take Everything Apart
Empty your cabinets and drawers, then uninstall the doors. This enables you to lay them flat for painting and prevent unsightly streaks.
Nothing screams amateur like paint on your hardware. Remove your door hinges and handles. This is a great opportunity to give them a good clean or spray paint them for a brand-new look.
Step 2. Label the Doors
Labelling everything ensures you know exactly where each door belongs. Draw up a sketch and number your parts in an inconspicuous spot. (Just make sure not to paint over your label!) This will save you hassle when it’s time to rehang them.
Step 3. Protect Your Kitchen
Cabinet painting is a messy job, and you’re bound to end up with drips and splatter. Rosin builder’s paper will cover your surfaces and protect your kitchen. Be sure to cover your floors, counters, and even the backsplash.
Step 4. Remove Old Paint
Working with previously painted kitchen cabinets? You might have to strip them for a fresh start. Apply your stripper with a brush. Once the existing paint starts to lift, peel it away with a plastic scraper.
Step 5. Clean, Clean, Clean
Paint adheres best to clean surfaces. Rid your cabinets of stubborn kitchen grease with dishwashing liquid. A dedicated degreaser also works wonders.
Next, loosen the dust with a vacuum. A quick wipe-down will take care of the remaining dirt. Many cabinet refinishers love tack cloths for picking up debris.
Step 6. Fill in Holes
If you’re planning to change out your hardware, you might need to drill new holes. This is a great time to fill existing holes and cracks with wood filler.
Hoping to achieve a smooth, grain-free surface? Caulk recessed panels and fill the open grain. An oil-based spackling compound will do the trick.
Step 7. Rough Up Your Surface
Sanding removes lacquer or gloss from your cabinets. It also ensures that primer and paint stick to the surface. Use an orbital machine with 120-grit paper to give your cabinets a light sanding. Don’t go overboard, or you’ll risk damaging your wood.
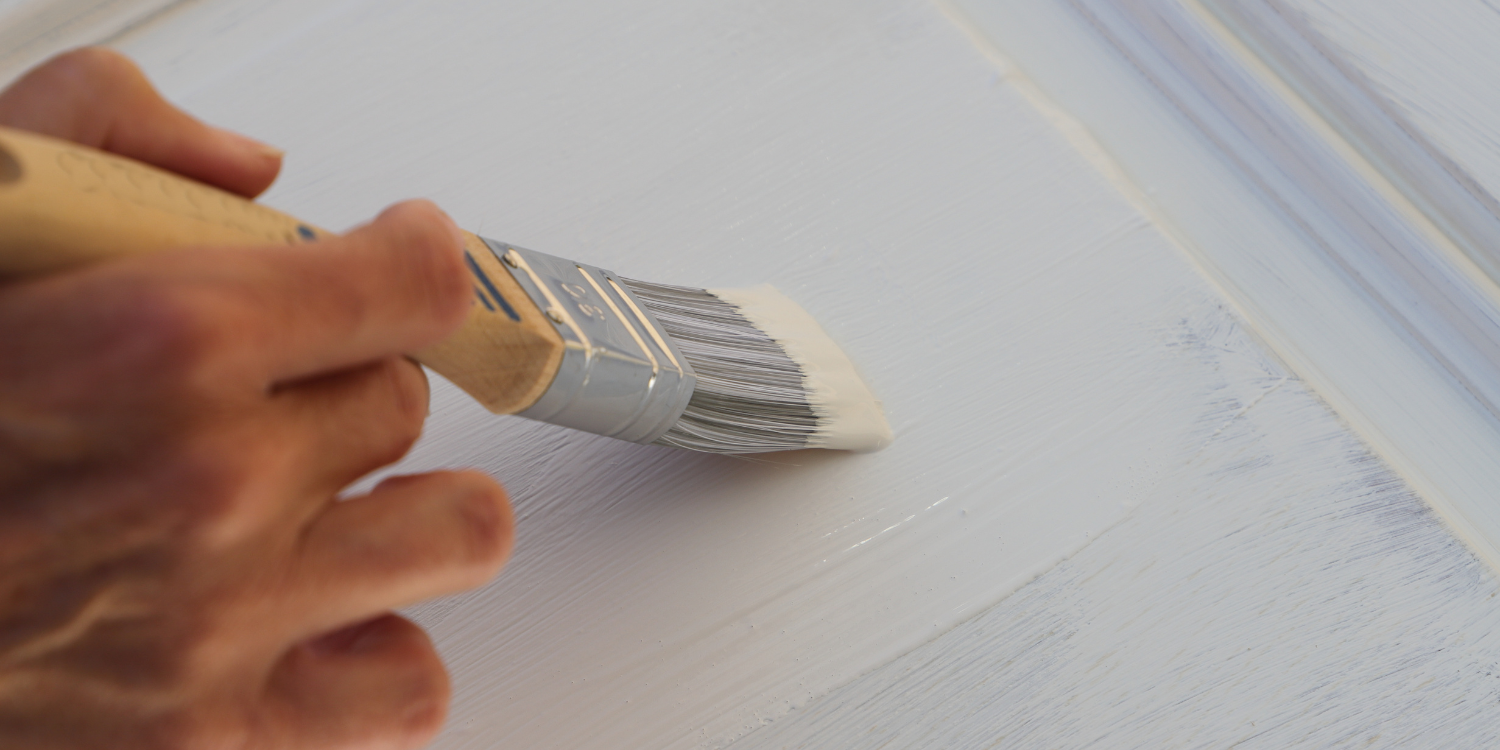
Step 8. Prime
You’re almost ready to paint!
Prime every surface to give your paint a good base. This step also covers imperfections. Shellac or oil-based primer will prevent stains from bleeding through your paint.
Feeling impatient? Choose a fast-drying product. And consider tinting your primer to match a dark-coloured paint.
Hire a Professional to Help Prep Cabinets For Painting
Prepping can be tedious. But you’ll appreciate your efforts when admiring your refreshed kitchen.
Does this work still seem daunting? You can always hire an expert! Professional cabinet painters can always give your kitchen the refresh it needs. Check out our network of approved home contractors today!